Developing Simple Mobile Games Using Unity
Developing Simple Mobile Games Using Unity

Contents
- 1 What is Unity?
- 2 What are the Benefits of Using Unity?
- 3 How to Develop Mobile Games Using Unity?
- 3.1 Step 1. Installation and Setup
- 3.2 Step 2. Creating a New Project
- 3.3 Step 3. Understand the Interface
- 3.4 Step 4. Importing Assets
- 3.5 Step 5. Creating the Game Scene
- 3.6 Step 6. Designing Game Elements
- 3.7 Step 7. Scripting with C#
- 3.8 Step 8. Setting Up the UI
- 3.9 Step 9. Testing
- 3.10 Step 10. Building the Game
- 3.11 Step 11. Troubleshooting
- 3.12 Step 12. Polishing Your Game
- 3.13 Step 13. Publishing Your Game
- 4 What are the Challenges of Using Unity?
- 5 Winding Up
Did you know that over 50% of mobile games are developed using Unity?
Unity game engine has become a leading choice in the gaming industry. It’s flexible and easy to use, too. You get all the tools to turn your game concepts into something real.
Now, you’re wondering why Unity is so popular and how you can develop your own game.
This blog will walk you through everything you need to know about Unity. We’ll discuss its significant features and how you can use this incredible tool for your upcoming project.
What is Unity?
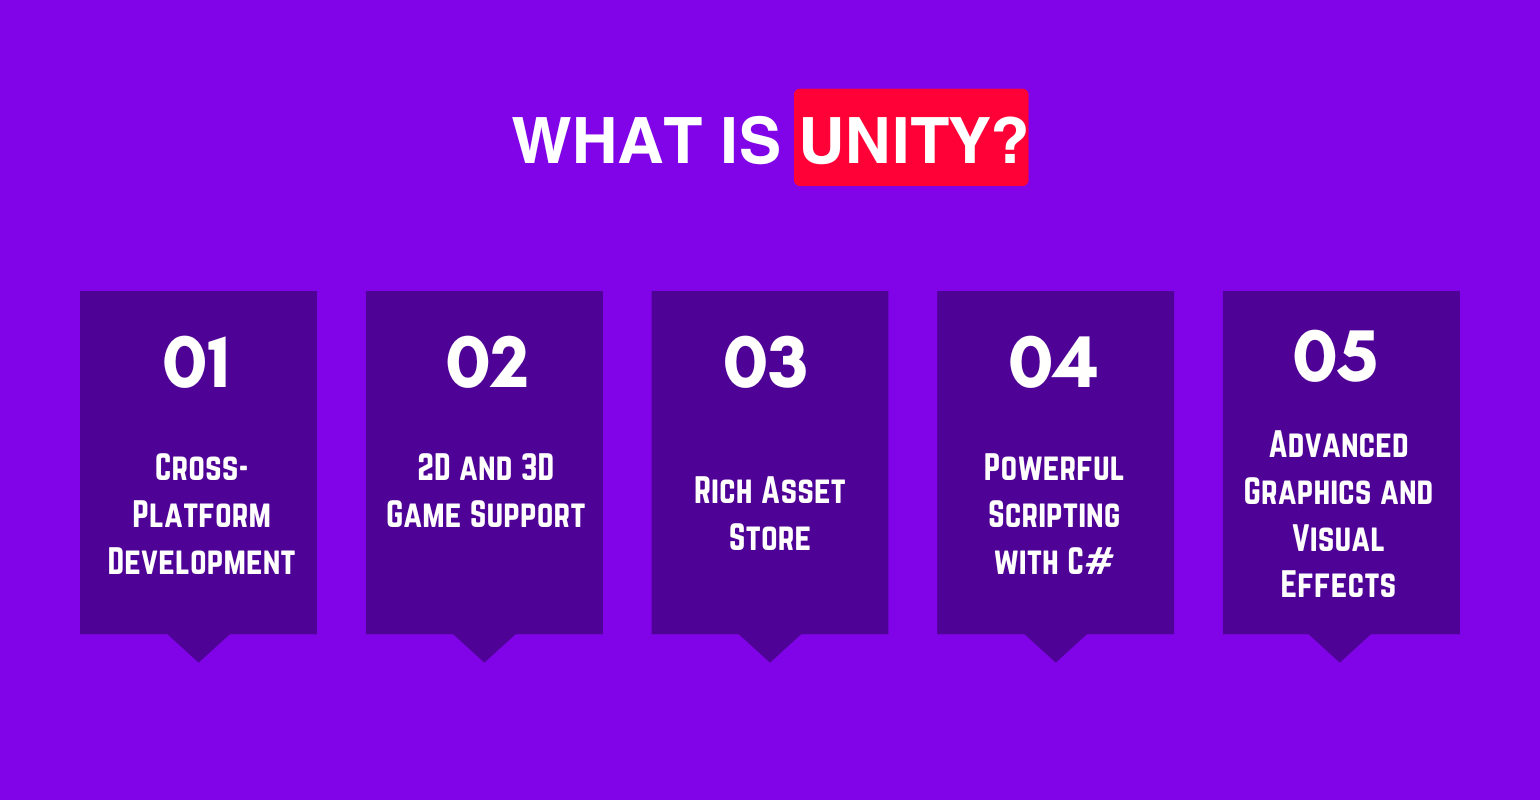
Unity is one of the most popular game engines used in game development. It is used in both 2D and 3D game creation. Unity also allows developers to create immersive virtual reality (VR) and augmented reality (AR) games that blend real-world elements with digital environments.
Here are some features of the Unity game engine.
- Developing Across Platforms: Unity allows developers to build a game and help to deploy it across multiple platforms, including PCs, consoles, iOS, Android, and VR/AR devices. However, platform-specific optimizations and tweaks are often necessary to ensure the game performs well and meets platform requirements.
- Support for 2D and 3D Games: The tool creates engaging games in both 2D and 3D, with rendering, physics, and animation tools.
- Huge Asset Library: Unity offers several ready-to-use assets like characters, places, and codes, making game-making speedier.
- Coding with C#: With Unity, you can code your game moves and interactions using C# coding capabilities.
- Top-Notch Graphics and Visual Effects: It’s all about using real-time lights, HDR images, and systems that keep everything running smoothly for realistic visuals.
Unity mixes adaptability and high performance, putting it at the top for game developers around the globe. We’re diving into the main perks that make Unity stand out in game development.
What are the Benefits of Using Unity?
Unity is known for its flexible nature and comprehensive features in this game design industry. From a beginner who wants to explore the game development process to an expert developer working on big projects, Unity offers the toolkit you need to turn your ideas into reality.
Here are some key strengths that make Unity a preferred choice for game creators.
- Built-In Ad Integration
With Unity Ads, monetizing your game will become very easy. This built-in system eliminates the need for external plugins and ensures a smoother experience for developers and players.
- Expansive Templates and Prefabs
Unity’s set of templates and ready-to-use prefabs speed up the creation of games. Developers use these premade building blocks best for prototype, testing, and refining ideas effortlessly.
- Open-Source Components
Loads of open-source components come with Unity, letting game developers tweak and enhance the game. This customization allows the engine to fit various game types and unique project needs.
- Active Developer Community
Unity prides itself on having a supportive bunch of devs. There are several tutorials of how-to guides, discussion boards, and shared plugins that make solving problems easy. It’s also great for picking up new techniques and keeping your game-making hustle moving.
- Support for Emerging Technologies
Unity’s integration with cutting-edge technologies like VR, AR, and advanced rendering pipelines ensures developers can create immersive and future-ready gaming experiences.
Wondering how you can use Unity to turn your game ideas into reality? Let’s dive into the steps for developing mobile games with Unity!
How to Develop Mobile Games Using Unity?
Creating mobile games with Unity allows developers to design captivating and interactive experiences. With its powerful tools and extensive resources, Unity makes it easier to turn creative concepts into fully functional mobile games.
Here’s a step-by-step guide on using Unity to develop mobile games, from setting up your development environment to publishing your finished game.
Step 1. Installation and Setup
The first step before creating a mobile game in Unity is installing and setting up your development environment.
- Download Unity Hub: Go to Unity’s official website and download Unity Hub. Unity Hub is a launcher that manages Unity installations and projects. Once installed, you can easily install the Unity Editor and other necessary modules for game development.
- Install Mobile Modules: During installation, ensure you add the mobile development modules (Android and iOS) through Unity Hub. These modules allow you to develop and test your game for mobile devices. Also, select the version of Unity that matches your project needs.
- Unity Products: Unity Personal (the free version) is the right choice for individuals and small teams. Larger teams require a Unity Pro ($2,200 per seat annually), which is needed for teams with significant revenue.
Step 2. Creating a New Project
Now that Unity is installed, creating your first project is time. This step will set up your working environment.
- Open Unity Hub: Launch Unity Hub and click the ‘New Project’ button. You will be prompted to select a project template, such as 2D or 3D. The template you choose will determine the type of game you’re creating and how your game assets and scenes are handled.
- Choose a Template: For a mobile game, choose 2D if you plan on creating a 2D game (such as a platformer or puzzle game) or 3D for more complex games requiring depth, like action or racing games.
- Project Details: Name your project and choose a location to save it on your computer. Once everything is set, click Create Project to generate your Unity workspace.
Step 3. Understand the Interface
You’ll spend most of your time in the Unity interface. Hence, it’s important to understand the layout to work efficiently and thoroughly.
- Hierarchy Window: This panel lists all objects currently in your scene. Each game object appears here, such as a camera, character, or obstacle.
- Scene Window: Here, you can arrange and adjust the objects in your game. You can set objects’ position, rotation, and scale to shape your game’s layout.
- Game Window: This window displays how your game looks while running. It’s where you can test your scene and make any necessary adjustments.
- Project Window: The Project Window helps you organize your files. It’s where you’ll find assets, scripts, and other files related to your project.
- Inspector Window: When you select an object in your scene, the Inspector window shows its properties and allows you to modify them. These include position, rotation, texture, and attached components.
Step 4. Importing Assets
You must import assets like images, models, sounds, and more to make your game visually appealing.
- Importing Assets: To add assets to your project, go to the Assets menu and select Import New Asset. Locate the files you want to add, such as textures, models, or audio files, and pick them.
- Organize Assets: It’s essential to stay organized by creating folders within the Project panel (e.g., Sprites, Scripts, Audio). This helps keep everything tidy as your project grows.
- Asset Store: Unity’s Asset Store offers free and paid assets, including 3D models, sound effects, and scripts, which can save time, especially for beginners. These assets can be imported directly into your project to speed up development.
Step 5. Creating the Game Scene
Your game scene is where the action happens. Setting up the initial environment is the first step in creating a playable game.
- Create a New Scene: Go to File > New Scene to start a fresh scene for your game. Name the scene appropriately to keep your project organized.
Key short cut: Ctrl + N (Windows) and Cmd + N (Mac)
- Game Objects: Use GameObject > 3D Object > Plane (for a 3D game) to create a basic ground or starting platform. For 2D games, start with 2D Sprites.
Key short cut for creating a New GameObject: Ctrl + Shift + N (Windows) and Cmd + Shift + N (Mac)
- Position and Scale: After creating objects, use the Scene view to position and scale them to fit your design. This is where you can make the foundation for your game world.
Step 6. Designing Game Elements
Now that your game scene is set up, you can start designing the core elements of your game, such as characters and obstacles.
- Import Game Assets: Import characters, objects, and environmental elements now. Drag and drop them from the Project window into the Hierarchy window. It will add the assets to your scene.
- Asset Organization: Keep your assets organized by creating folders in the Project window. You can create separate folders for models, textures, sounds, and prefabs.
Step 7. Scripting with C#
To bring your game to life, you must add logic and interactivity. Unity’s core language for game development is C#, which is used for scripting.
- Create a Script Folder: Right-click in the Project window, choose Create > Folder, and name it “Scripts.” This folder will house all your game logic.
Key short cut for creating New Folder: Ctrl + Shift + N (Windows) and Cmd + Shift + N (Mac)
- Create Scripts: Right-click inside the Scripts folder, select Create > C# Script and name the script appropriately. Then, double-click to open it in your code editor.
- Write Game Logic: Write scripts to control game elements, such as player movement, mechanics, and interactions. C# is user-friendly, and many resources are available to help beginners.
Step 8. Setting Up the UI
A good user interface (UI) is essential, especially for mobile games. The next step is setting up buttons, menus, and other interactive elements.
- Create UI Elements: Go to GameObject > UI to add elements like buttons, text fields, and images. These are the building blocks of your game’s interface.
- Position UI Elements: Arrange the UI elements in the Scene view and ensure they are properly sized and positioned for different screen resolutions, especially for mobile devices.
- UI Design: When designing the UI, consider the user experience. Mobile screens are small, so the UI should be intuitive and responsive.
Step 9. Testing
Testing is crucial for identifying issues and refining gameplay. Unity offers an easy way to test your game during development.
- Run the Game: Click the Play button in the Unity Editor to enter Play mode and test your game. This will allow you to see how the game works and identify potential problems.
- Iterate: Test often, make adjustments, and retest. This iterative process is key to improving gameplay and performance.
- Debugging: Use Unity’s Console to track errors or warnings. This helps you identify what’s not working and make necessary fixes.
Step 10. Building the Game
Once your game is ready for the world to play, it’s time to build it for a mobile platform. Unity’s build settings make this process easy.
- Configure Build Settings: Go to File > Build Settings and choose your target platform (e.g., Android or iOS). Unity allows you to switch between different platforms easily.
Key short cut: Ctrl + Shift + B (Windows) and Cmd + Shift + B (Mac)
- Switch Platform: For mobile, you may need to switch to Android or iOS as your target platform, which will configure your project for mobile optimization.
- Build the Game: After selecting the target platform, click Build to create a build of your game. This process compiles your game into a format that can be installed on a mobile device.
Step 11. Troubleshooting
Troubleshooting is a normal part of the development process. Unity provides several tools to help you debug and fix problems.
- Error Messages: Pay attention to error messages in the Console window. These often indicate what’s causing an issue and can guide you to the solution.
- Debugging with Logs: Use Debug.Log() in your scripts to print messages to the console. This helps you understand what’s happening during the game and identify bugs or issues in the code.
- Community Support: If you need help, Unity’s extensive documentation and community forums are valuable resources for solving common problems.
Step 12. Polishing Your Game
Before you release your game, take time to polish it. Small details can significantly improve the overall experience.
- UI Enhancements: You should ensure the user interface is clear and intuitive. Also, ensure buttons and menus are easy to locate on small screens.
- Visual and Audio Effects: Add visual effects (such as particle systems) and audio effects to enhance the player’s experience. Good sound design can make a huge difference.
Step 13. Publishing Your Game
Publishing your mobile game is the final and crucial step in making your game accessible to players around the world. Unity makes this process smooth by offering easy-to-use tools for building and exporting your game.
- When ready, go to File > Build Settings > Player Settings and fill out the necessary fields in Publishing Settings.
Filling out the necessary fields ensures your game is uniquely identified, up-to-date, secure, and optimized for various devices. It’s crucial for proper distribution, smooth updates, and a seamless player experience across app stores and platforms.
- Click Build to compile your game into an app and publish it to the Google Play Store or Apple App Store.
The above is the stepwise guide for developing a simple game using Unity. However, Unity comes with its own set of challenges despite its many benefits. Recognizing these drawbacks is essential for developers to deal with them effectively.
What are the Challenges of Using Unity?
Unity is an incredible game development platform, but it’s not flawless. Like any tool, it comes with its own set of challenges. Developers must understand these limitations to make better decisions for their projects. While Unity offers flexibility and powerful features, certain aspects may require extra effort or expertise to overcome.
Here are some challenges developers face when working with the Unity engine.
- Steep Learning Curve for New Developers
For developers new to 3D games, mastering Unity’s rendering and performance optimization can be a slow process. Understanding how to optimize the game’s performance while maintaining quality graphics can be challenging for beginners.
- Complexity of Unity Collaborate
Unity Collaborate, Unity’s internal collaboration tool, has faced criticism for its lack of clarity and ease of use. Many developers find that external tools like Git or other version control systems provide better organization and smoother team collaboration.
- Cost of Unity License
While Unity offers a free version for individual developers and small studios, the cost of a Unity Pro license can become a barrier for those with limited budgets. The licensing fees can add up quickly, particularly for larger studios or those planning to scale their development efforts.
- Unity Personal: Free for creators with revenue less than $100K annually.
- Unity Pro costs $200/month for teams and professional developers.
- Unity Enterprise: From $450/month, designed for larger teams and complex projects.
The Unity Education Grant License and Unity Educator are free for educational purposes.
- Limited Built-In Features
Unity is versatile, but it has its limits. Developers aiming for advanced or unique mechanics may find some features missing. This often means relying on plugins or custom solutions. Both can add time and cost to development.
Winding Up
At Xpress Gaming, we build more than games. We create experiences that captivate players. Our team specializes in Unity Game Development. With years of experience and passion for pushing boundaries, we turn ideas into games that stand out.
With a skilled team and a deep understanding of Unity, we’ve delivered countless successful projects. We bring concepts to life while overcoming challenges.
Let’s collaborate to create an extraordinary gaming experience.
Client Testimonials Blog ID - 15498
At Kuriosity QA, we are committed to providing the highest quality gaming QA services to our clients in the gaming industry. Here’s what some of our satisfied clients have to say about working with us: